OUR SOLAR PROCESS
What To Expect
Here at Breeze Solar, we believe in being transparent and helping you educate yourself on the benefits of going solar. In doing this, we can immediately put savings back in your pocket by not paying a commission to a salesman. Let us walk through that now.
Why Go Solar?

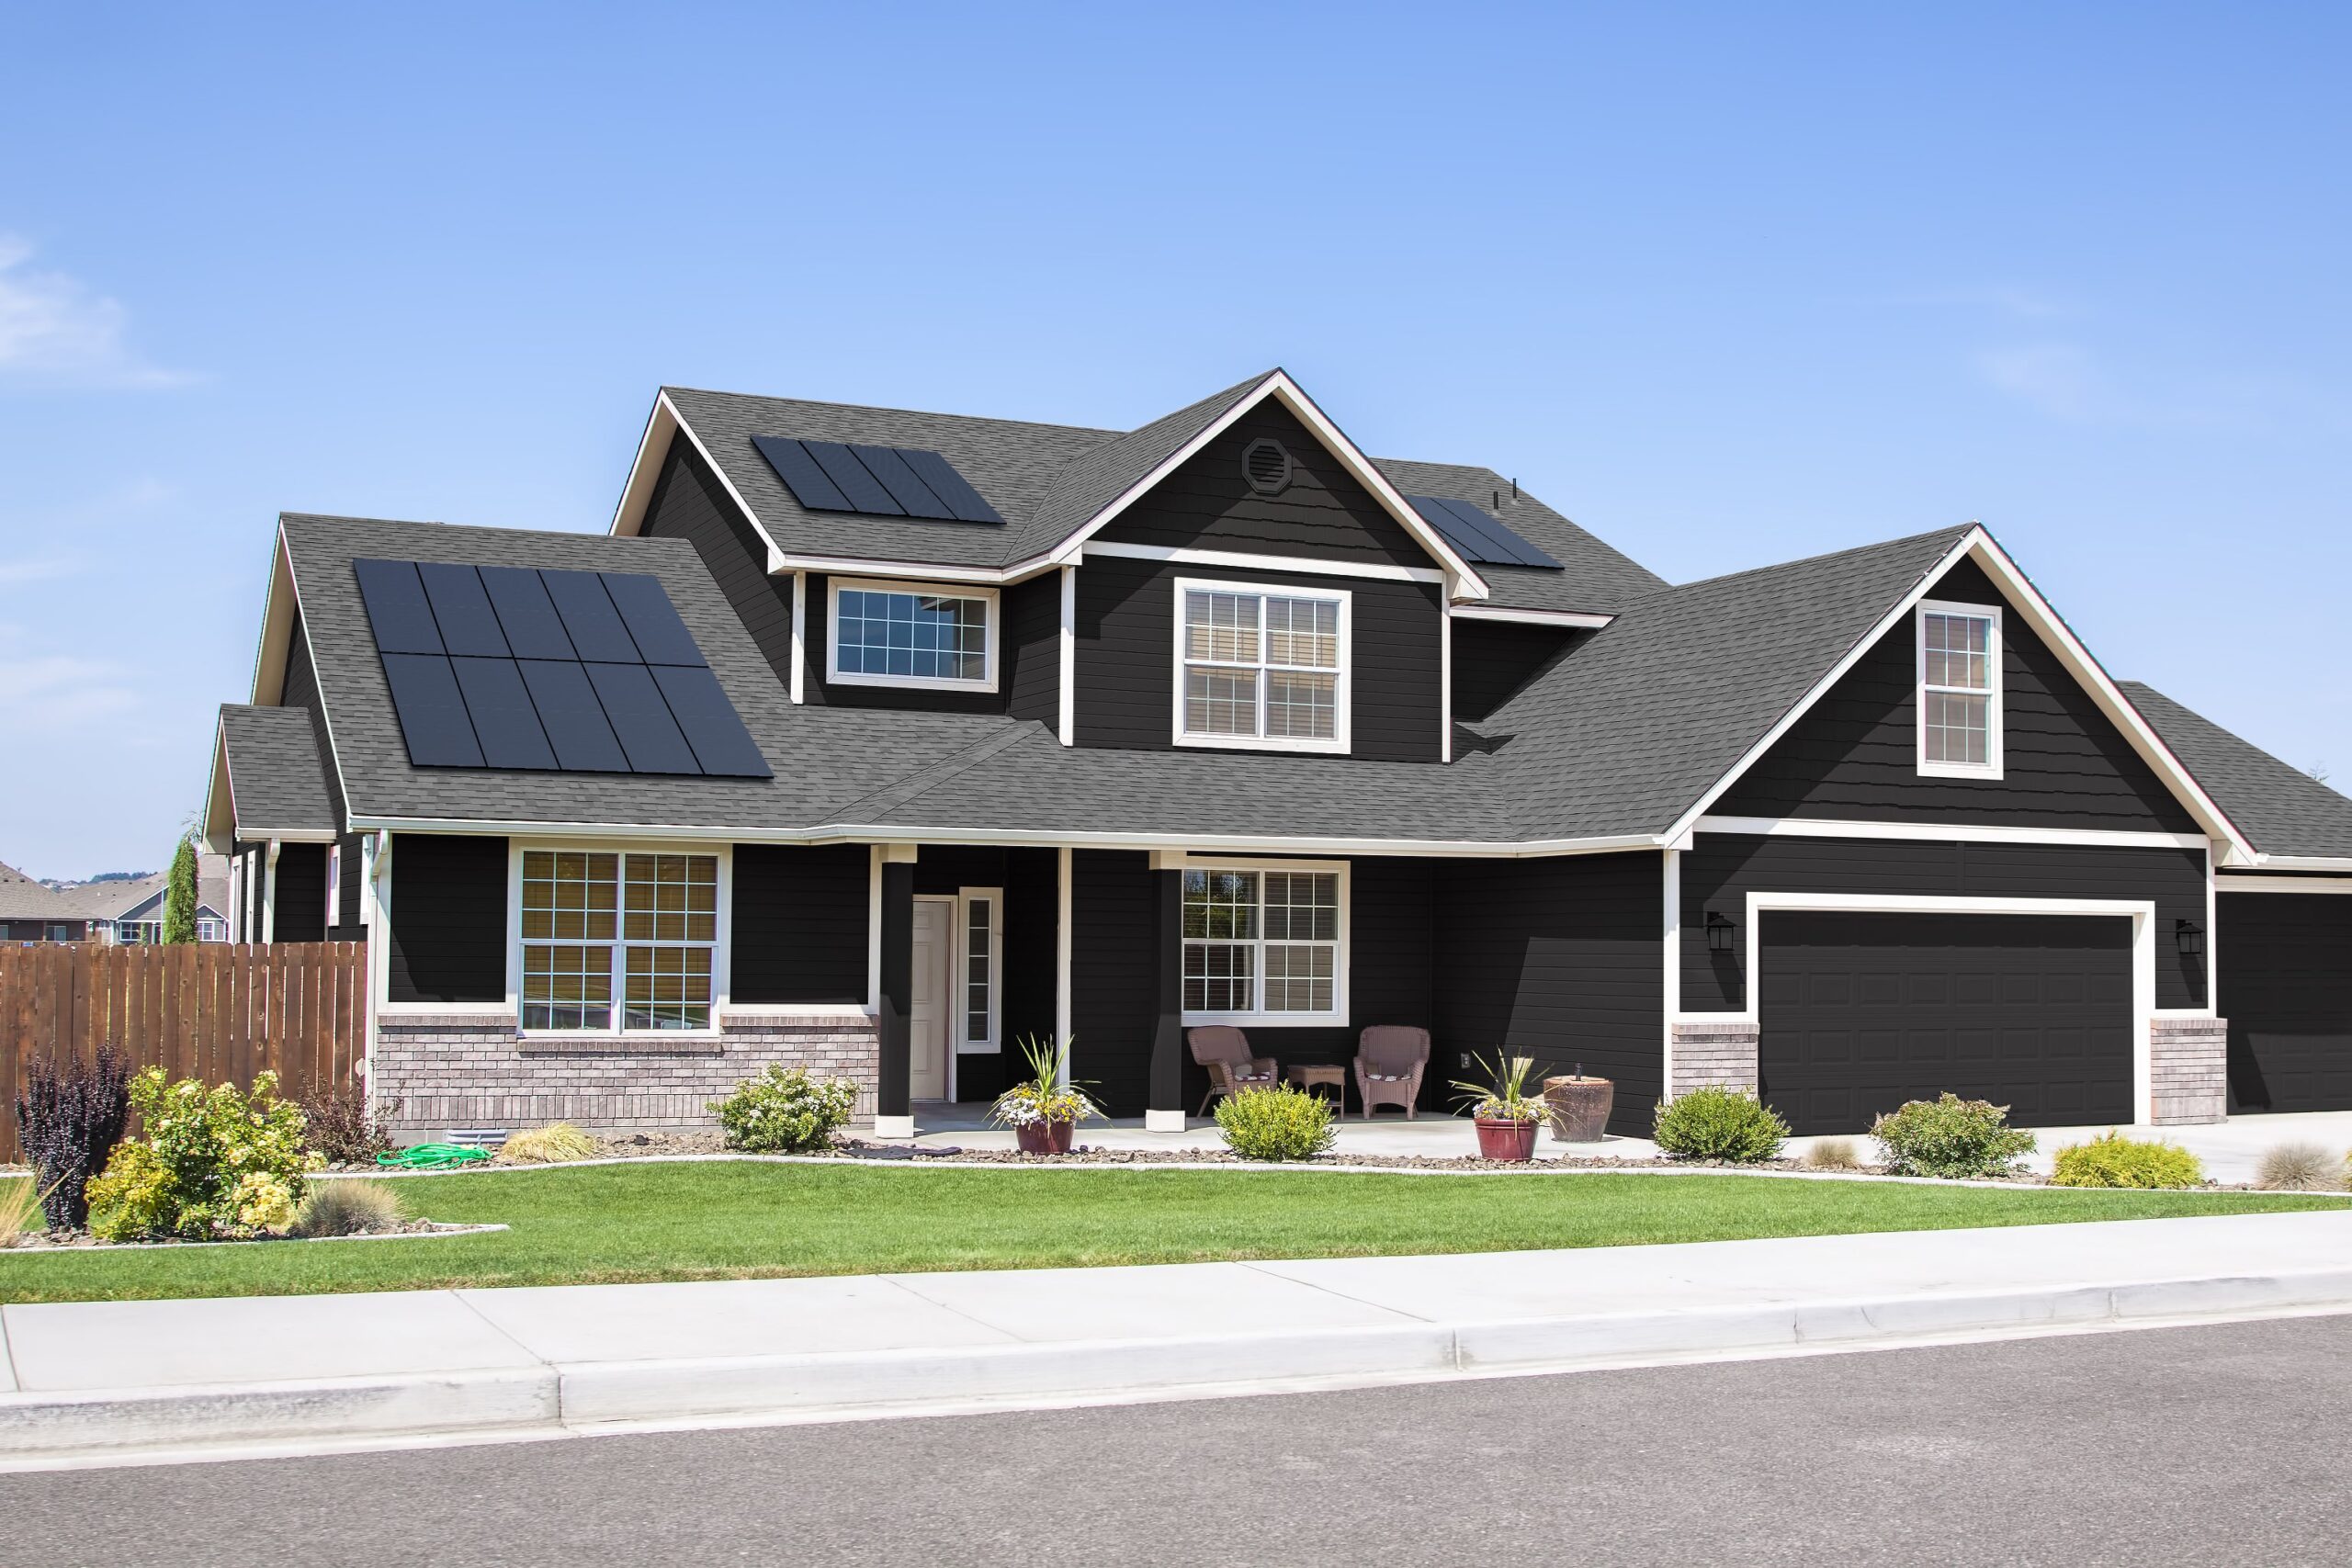
Going solar allows you to take charge of your ever-increasing utility bill. Believe it or not, utility bills have increased nearly 68% since the year 2000*. That’s about 3% each year on average. When you go solar, you can harness the power of the sun and be immune to these increases.
Choosing to go solar can often be complicated; however, when you’re partnered with the right company, it’ll be a Breeze!
Here is what you can expect from us and our installation partners:

Step 1: Calculate Your System Needs
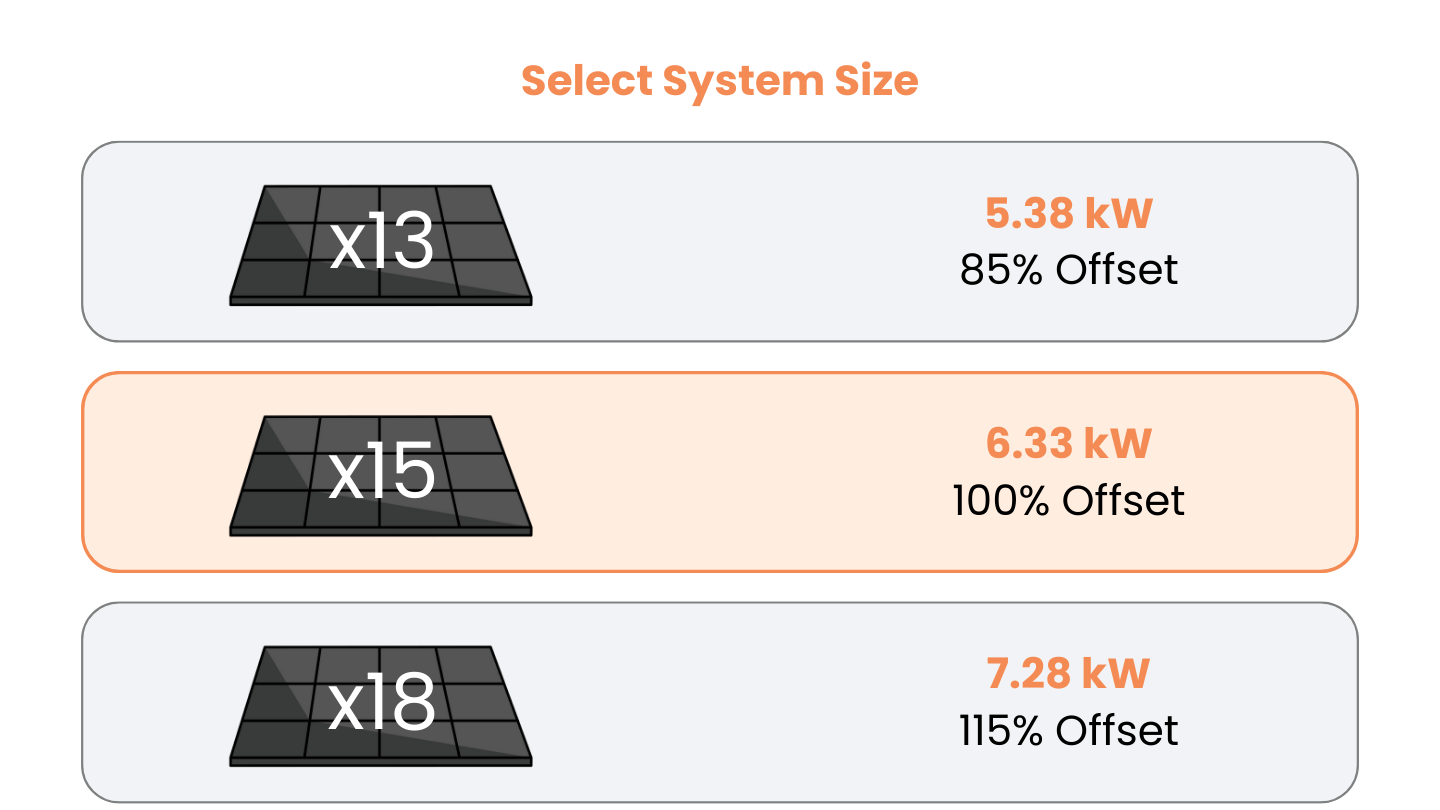
The first step in your solar process is to identify what you need. Every solar system is unique; some systems have better sunlight, others have less roof space, and some have the exact same roof shape but different energy usages. We gather this information to find out just how many panels you need to potentially eliminate your utility bill. This takes us to “Offset”. What exactly is offset?
Solar Offset is the amount of energy the solar panels produce compared to the amount of electricity a home consumes. For example: if your solar panels only produce 800 kWs but you consume 1,000 kWs, that would be equivalent to an 80% offset. Produce 1,000 kWs and consume 1,000 kWs: 100% offset. You can also produce more than you consume which could lead to over 100% offset.
Once it’s determined what offset makes the most sense for your home, the next step when calculating your needs is how many batteries you need, if any.
Batteries are a great addition to your solar system. They provide energy storage for surplus solar power, enhance self-consumption, and reduce reliance on the grid. They also offer backup power during outages, increasing energy independence and reliability. Additionally, they enable cost savings by optimizing energy usage and taking advantage of time-of-use pricing. Overall, batteries complement solar energy systems, improving efficiency, resilience, and flexibility.
After you determine which system and batteries work best for your home, we move on to our different payment options.

Step 2: Payment Options
Going solar with Breeze is one of the most affordable options when going solar. This is because we have taken the sales commission that would have gone to a salesperson and passed that right back to you! In other words, you are your own salesperson and will be paid "commission" in the form of direct savings on your solar quote. We offer multiple different options and programs to help you find the most comfortable option for you; from cash deals to short-term and long-term financing, we have it all because we know everyone’s situation is different. However, at the end of the day when going solar with Breeze you know you are getting the best deal out there!

Step 3: Receive Your Custom Design & Meet Your Installer
Once you have submitted your information regarding offset, batteries, and payment options, we will create a custom hassle-free design for you. This design shows how the solar panels will fit on your home and confirms pricing. Pricing may vary depending on your roof shape and size. For example, if you selected a 100% offset that requires 25 solar panels, but based on your roof size, we can only fit 18 panels, your price would decrease from what you saw on our online quoting tool.
At Breeze Solar, we partner with a top-rated company in your area to install the panels on your home. This partnership allows us to give you exclusive pricing that the partner wouldn’t even be able to offer you. How is this even possible? Well, going solar with Breeze means you aren’t paying thousands to a sales rep, and we pass those savings right back to you. This allows you to have the balance of a reputable, well-established company that comes with both a sense of security and quality and have it be affordable.
The partners that we carefully choose to work with offer the most premium technology from industry-leading manufacturers and boast amazing A+ ratings with the Better Business Bureau (BBB).
Additionally, our partners are extremely experienced and have helped tens of thousands of homeowners across the country go solar! Lastly, we want our partners to be local to your area so they understand all the rules and regulations of your local jurisdiction and utility companies and are nearby to resolve any possible issues that may arise during the solar process.

Step 4: Sign Documents & Site Survey
After reviewing the custom design and pricing, we will have you sign paperwork that enables us to have a representative from one of our local installation partners reach out to you and schedule a site survey. During this site survey, a technician visits your home and reviews your location, roof quality and angle, shade concentration, and other factors that affect solar panel productivity. You will need to be present for this survey, and our team will be sure to work around your schedule. This due diligence makes sure we don’t run into any issues when installing your panels and makes sure your roof (and shingles) are in good shape to support the weight of the panels.

Step 5: Final Design
Once the crew has finished the site survey, the information they gathered will be passed back to the design team. The team will use these notes to make any changes the crew made notes of; for example, if the original design did not notice roof vents but the crew did, we may need to remove a panel and vice-versa. Once the design has been finalized, it will be sent back to you to confirm. Once approved our partners will get started in the background.

Step 6: Permitting and HOA Requests
Your local permitting office and HOA requests will be submitted so the installation process can move forward. The permitting process can take some time; however, our partners are experts who understand the specific requirements and processes in each state and area. Don’t worry, they will keep you well-informed and updated throughout the process!

Step 7: Installation Scheduling
With approved permits and a finalized panel array design, an installation date is scheduled. The solar technicians are well-trained in safety procedures, and each team includes an electrician to properly connect your solar panels to your home’s electrical system.

Step 8: Install Day
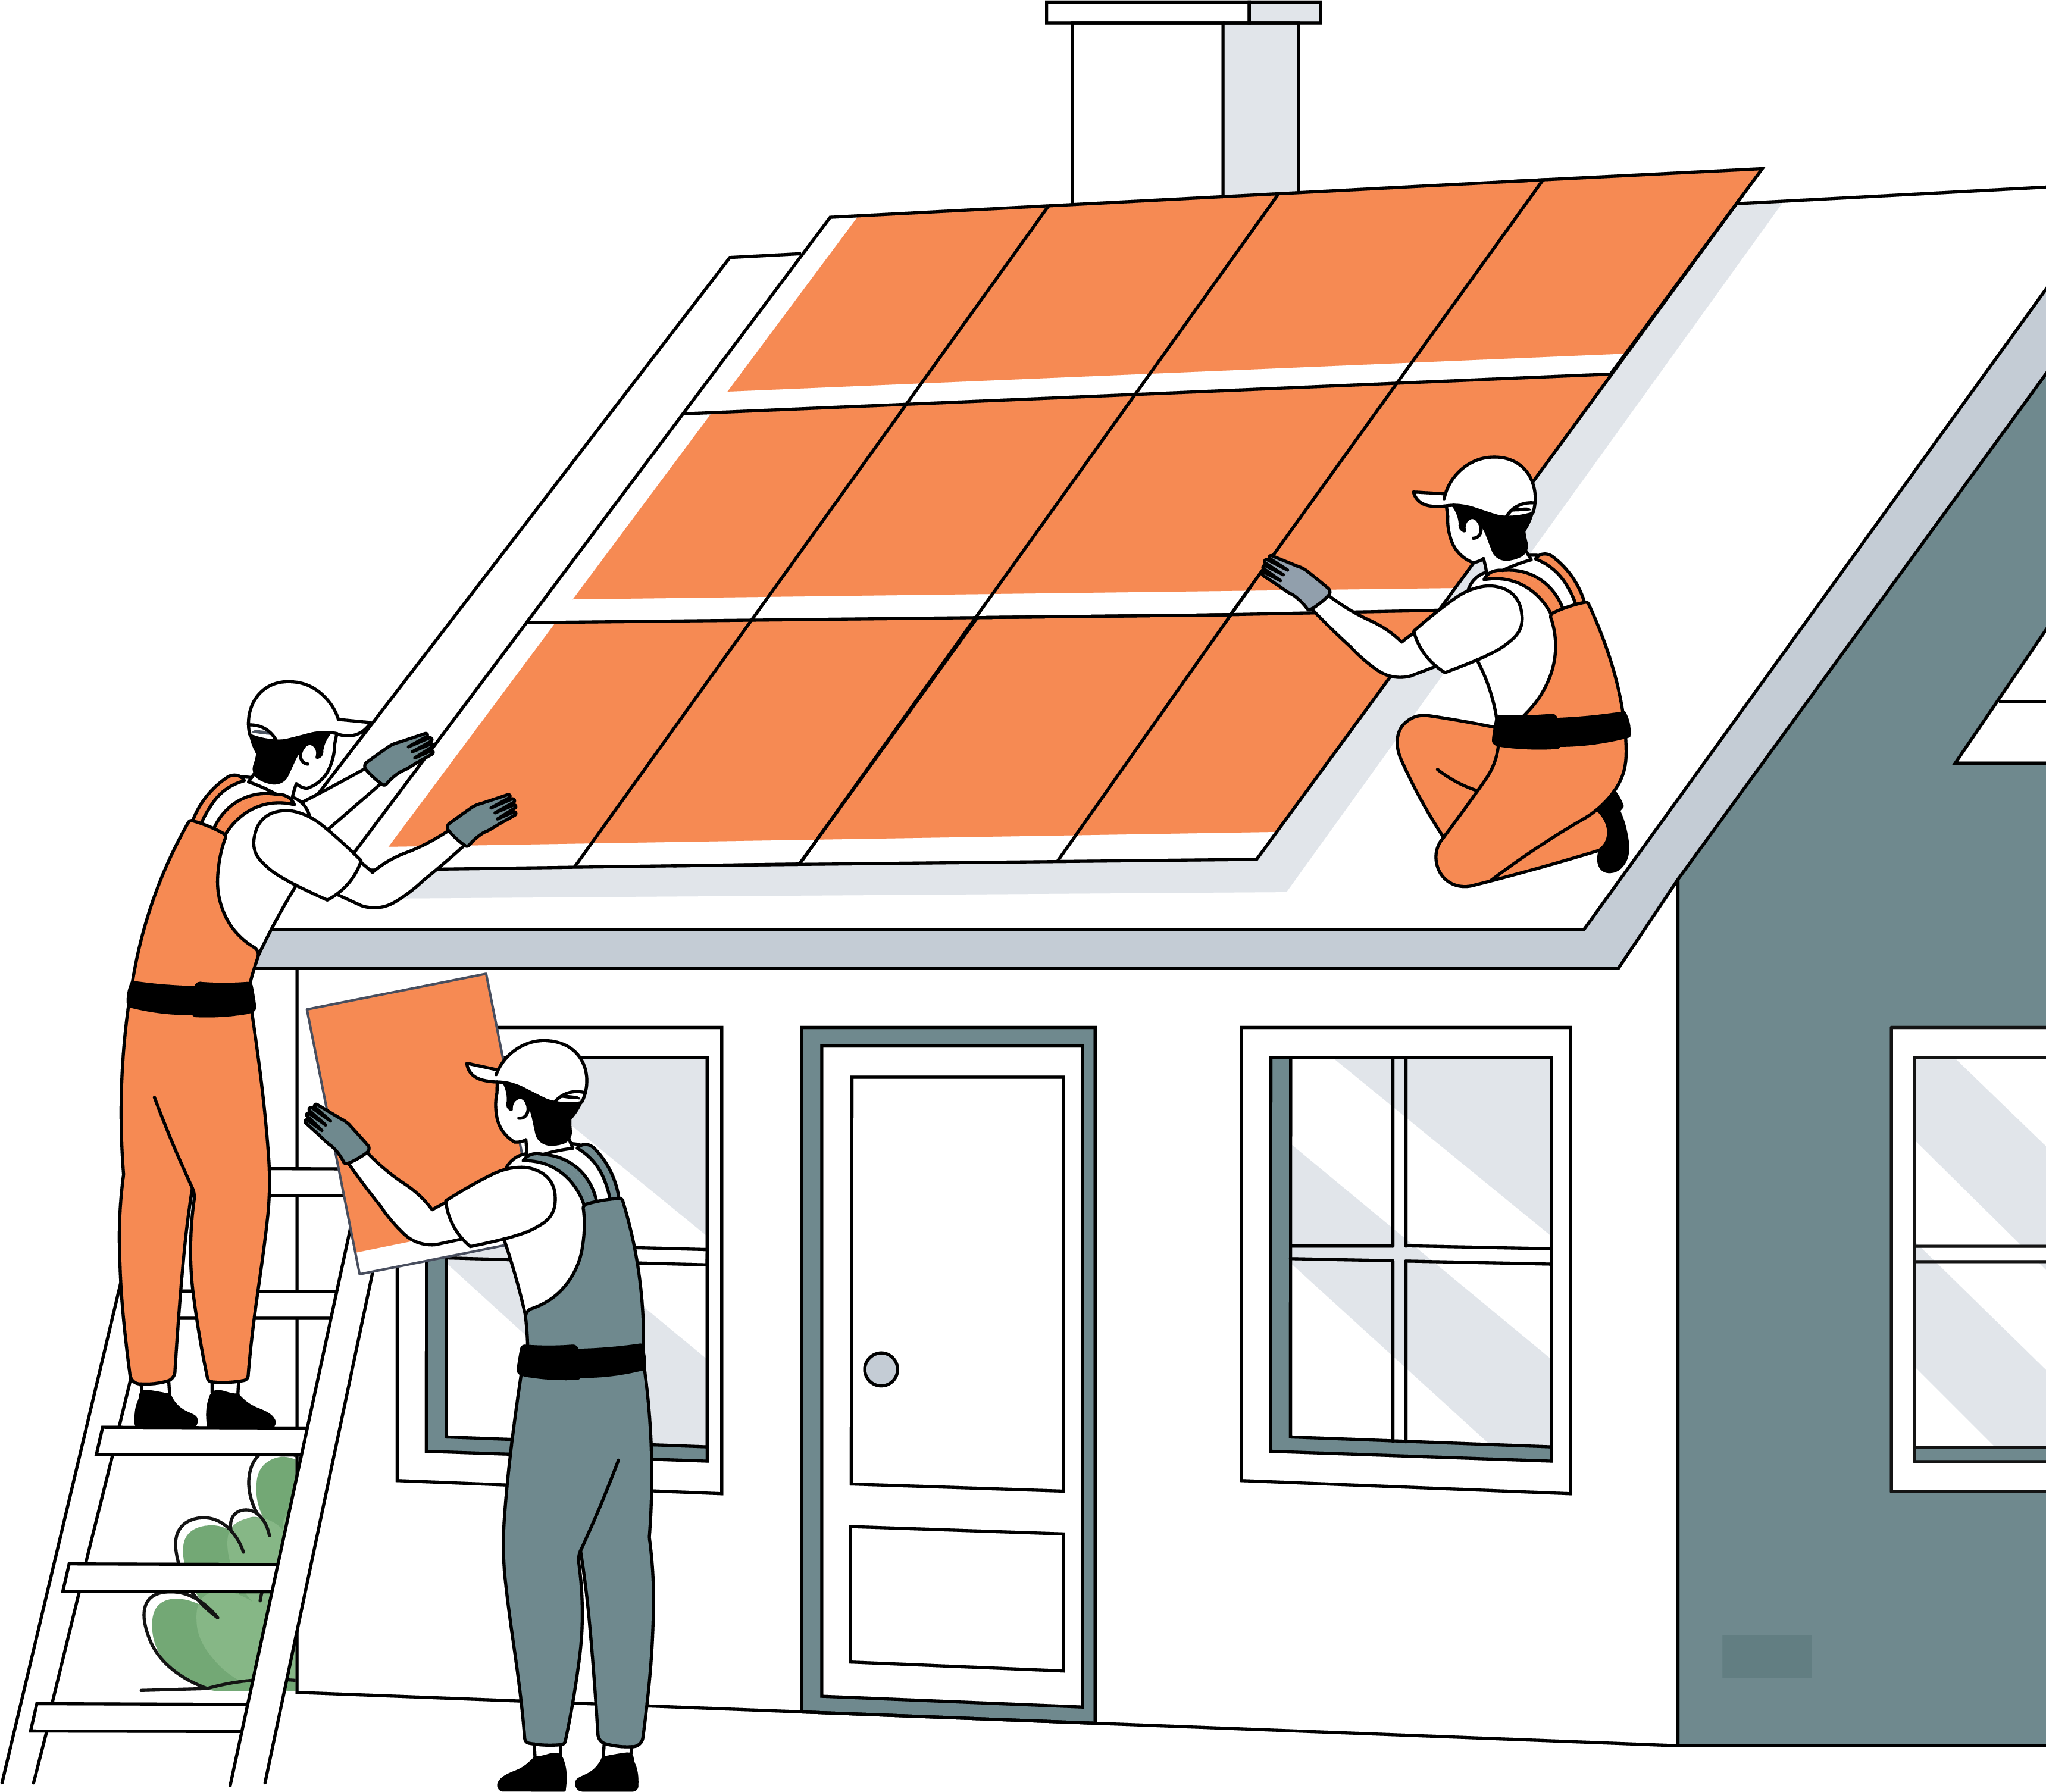
The installation itself typically takes only a few hours, and the process is simple. Solar panels are installed on racking, which is drilled into the roof. Microinverters are connected to the panels to convert sunlight into usable electricity for the home. Learn more about solar equipment. The installation crews will need access to the inside of the home (most often the attic) to finish setting up electrical connections, so it is best the homeowner is present on the day of the installation. Next, the local utility company is contacted to complete grid connections and inspections.

Step 9: Final Inspection & Energization
A city inspector will come to your home to check the installation and ensure everything is up to code. Additionally, the utility company will send a technician to connect your system to the utility grid so you can benefit from incentives like net metering. Once these experts have given you the greenlight, and a final inspection is passed, your system can be switched on!

Step 10: Solar Savings
Once your system is energized, you will be able to monitor the production from the solar panels. This, along with receiving a reduced utility bill on your next payment cycle will show you just how much you have saved. If any issues arise, our partners will be there to help because of the warranties they provide.
Congratulations on continuing to become a solar expert! Find out more about just how much you can save by going solar with Breeze today!
